How to Use Keyframe Animation Like a Pro
Keyframe animation is the backbone of modern motion graphics, video editing, and UI/UX animation. Whether you’re using apps like Alight Motion, Adobe After Effects, or CapCut, understanding keyframes is crucial for creating dynamic and professional-level animations.
In this guide, we’ll teach you how to use keyframe animation like a pro, even if you’re just starting out. From basic concepts to advanced techniques — we’ve got it all covered.
🔗 Related Guide: Alight Motion MOD APK for iOS – Pro Features Unlocked
What Is Keyframe Animation?
The Basics of Keyframes
A keyframe is a marker that defines the start and end of an animation. By setting two or more keyframes, your software calculates the motion between them — this is called tweening or interpolation.
For example:
- At second 0: An object is on the left side of the screen
- At second 3: The same object is on the right
The software fills in the motion between these two points — that’s keyframe animation.
Where Keyframes Are Used
- Video editing (e.g. pan, zoom, rotation)
- Motion graphics (e.g. logo animations)
- Mobile app animations (e.g. transitions)
- Character animation (e.g. mouth movement)
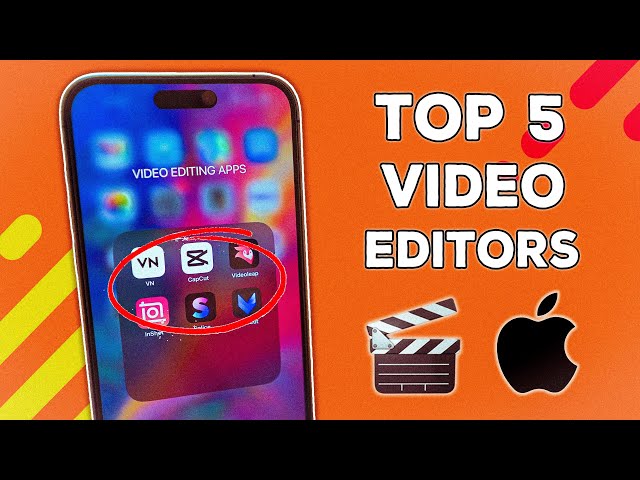
Popular Apps That Support Keyframes
Here are some tools you can use to practice keyframe animation:
- Alight Motion (Best for mobile motion design)
- Adobe After Effects (Industry standard for VFX & animation)
- CapCut (Great for social media content creators)
- LumaFusion (Pro editing app for iOS)
- Blender (Free 3D animation software)
🔗 Learn more: Top Video Editing Apps for iOS
How to Use Keyframe Animation: Step-by-Step
1. Choose Your Object or Layer
Start by selecting the element you want to animate — this could be:
- A shape
- A text layer
- An image or video clip
- A graphic object
2. Enable Keyframing
Turn on the keyframe toggle (usually a diamond icon) for the property you want to animate:
- Position
- Scale
- Rotation
- Opacity
- Anchor point
In Alight Motion, simply tap on the keyframe icon after selecting your layer.
3. Set Your First Keyframe
Go to the start point of your animation and adjust the property. For example:
- Move the object to the left
- Set opacity to 0%
- Set scale to 50%
A keyframe will automatically be added.
4. Move the Playhead and Adjust Again
Move the timeline playhead to the desired end time (e.g., 3 seconds later) and make another change:
- Move object to the right
- Increase opacity to 100%
- Set scale to 100%
The software will animate the transformation automatically.
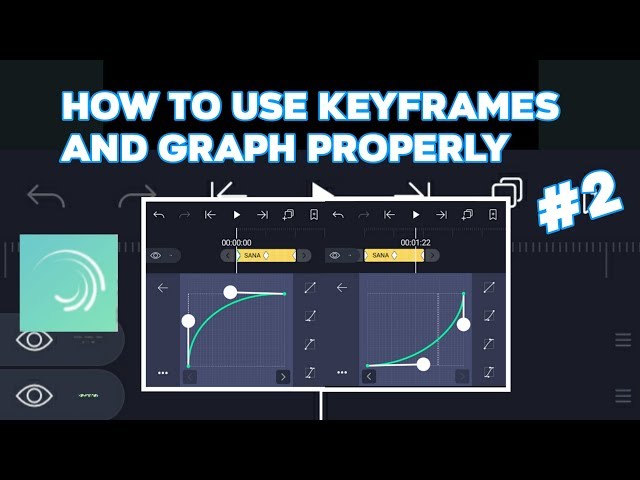
5. Fine-Tune the Animation Curve
This is where the pro-level control comes in. Most tools allow you to adjust the easing of the animation. Choose from:
- Linear (constant speed)
- Ease-in (slow at the start)
- Ease-out (slow at the end)
- Bezier (custom speed graph)
Using curves helps make animations feel more natural and smooth.
Pro Techniques to Master Keyframe Animation
1. Use Multiple Properties at Once
You can animate position, scale, rotation, and opacity simultaneously. This makes the motion look more dynamic.
2. Work with Anchor Points
Adjusting the anchor point (pivot) helps rotate or scale objects around a specific spot.
3. Loop Animations with Ease
Use looping keyframes for continuous movement like bouncing balls, pulsing icons, or spinning logos.
4. Add Motion Blur for Realism
Apps like Alight Motion support motion blur to make fast movements feel smoother and more cinematic.
5. Use Keyframe Assistance Tools
Advanced tools like After Effects have Graph Editors and Expressions to automate or refine motion.
Troubleshooting Common Mistakes
| Mistake | How to Fix It |
|---|---|
| Object jumps suddenly | Check for missing keyframes or mismatched values |
| Animation too fast/slow | Spread keyframes further apart or closer |
| Not animating at all | Make sure keyframing is enabled on the correct property |
| Rotation is messy | Adjust anchor point or use easing |
Real-World Use Cases
- YouTubers: Animate lower thirds or intros
- App Designers: Add smooth transitions to app UI
- Content Creators: Animate text and logos for Reels & Shorts
- Video Editors: Create zoom-in effects and panning in CapCut or LumaFusion